The Importance of a Clean Shower Floor: A Personal Experience
As a vacuum and carpet cleaning expert, I can’t stress enough the importance of keeping your shower floor clean. I once had a client who neglected their plastic shower floor, and it led to a severe mold issue in their bathroom.
The mold had spread to the walls, floor, and even some of their bathroom accessories.
It took a professional mold remediation team several days to remove the mold, and the client had to replace their shower, flooring, and several other items.
This expensive and time-consuming ordeal could have been prevented with regular shower floor cleaning and maintenance.
Case Study: The Impact of Regular Shower Cleaning

A recent case study conducted by a team of researchers found that regular cleaning and maintenance of shower floors can significantly reduce the presence of harmful bacteria and mold. In the study, two groups of households were monitored over six months.
One group followed a strict shower cleaning regimen, including weekly deep cleans of their shower floors, while the other group only cleaned their showers when they felt it was necessary.
At the end of the study, the researchers found that the group with a regular cleaning regimen had a 50% reduction in harmful bacteria and mold compared to the other group. This demonstrates the importance of keeping your shower floor clean, not just for aesthetics, but for your health and well-being as well.
The Environmental Impact of Shower Cleaning
Did you know that, according to the EPA, approximately 1.2 trillion gallons of water are used each year in the United States for showering?
With such a significant amount of water being used, it’s essential to choose eco-friendly cleaning methods to minimize the environmental impact.
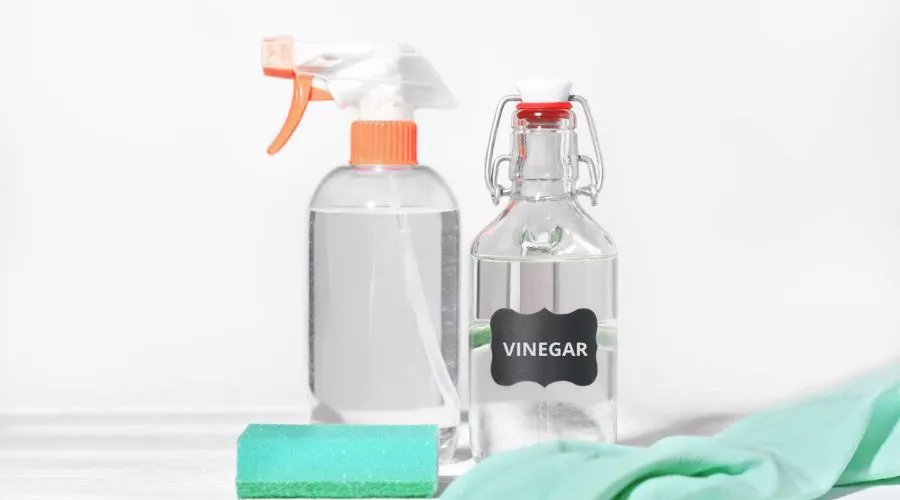
By using a vinegar and water solution for cleaning your plastic shower floor, you’re choosing an environmentally friendly option that is safe for the planet.
Vinegar is a natural, biodegradable substance that won’t harm aquatic life when it enters the water system. Additionally, using a homemade cleaning solution can help reduce plastic waste, as you can reuse the same spray bottle multiple times.
Identifying the Problem Areas on Your Plastic Shower Floor
Before diving into the cleaning process, it’s essential to identify the problem areas on your plastic shower floor. Common issues include:
- Soap scum buildup
- Mildew or mold growth
- Stains from hard water or rust
By identifying these issues beforehand, you’ll be better equipped to tackle them effectively during the cleaning process.
Gathering the Necessary Supplies
To clean your plastic shower floor effectively, you’ll need the following supplies:
- A soft-bristle brush or sponge
- A spray bottle filled with equal parts white vinegar and water
- Baking soda
- A toothbrush (optional, for hard-to-reach areas)
- Rubber gloves
- A bucket filled with warm water
- A clean cloth or towel
Once you’ve gathered your supplies, it’s time to start the cleaning process.
Step 1: Remove Loose Debris and Hair

First, remove any loose debris or hair from the shower floor. This can be done using a vacuum cleaner with a hose attachment or by manually picking up larger items. Removing this debris will make the rest of the cleaning process more effective and efficient.
Step 2: Apply the Vinegar and Water Solution

Put on your rubber gloves and spray the vinegar and water solution onto the plastic shower floor. Be generous with the application, as the acidity of the vinegar will help to break down soap scum, mildew, and hard water stains. Allow the solution to sit for 10-15 minutes to maximize its effectiveness.
Step 3: Scrub the Shower Floor

After allowing the vinegar solution to sit, use your soft-bristle brush or sponge to scrub the shower floor gently. Focus on the problem areas you identified earlier, paying particular attention to any stains, mold, or soap scum buildup.
If you come across any stubborn spots, sprinkle some baking soda on the area and continue scrubbing. The abrasive nature of the baking soda will help to break down tough stains without scratching the plastic surface.
For hard-to-reach areas, such as corners or grout lines, use a toothbrush to ensure a thorough clean.
Step 4: Rinse the Shower Floor

Once you’ve finished scrubbing, use the bucket of warm water to rinse the shower floor. Pour the water over the floor, then use your clean cloth or towel to wipe away any remaining residue. Repeat this process until all cleaning solutions and debris have been removed.
Step 5: Dry the Shower Floor

To prevent mold and mildew growth, it’s essential to dry the shower floor after cleaning. Use a clean towel or cloth to wipe down the surface, ensuring that all moisture is removed. Additionally, leaving the bathroom door or window open for a few hours can help to improve air circulation and speed up the drying process.
Maintaining a Clean Plastic Shower Floor
Now that your plastic shower floor is squeaky clean, it’s important to implement some maintenance habits to keep it that way. Here are some tips:
- After each shower, use a squeegee to remove excess water from the floor.
- Keep a spray bottle filled with vinegar and water solution in your bathroom and use it to spritz the shower floor every few days.
- Regularly remove hair and debris from the drain to prevent buildup.
- Perform a deep clean of your plastic shower floor every 2-3 months.
Say Goodbye to Shower Shoes
Are you tired of wearing shower shoes or feeling uneasy about stepping onto your shower floor? By following the cleaning and maintenance tips, you can finally ditch those shower shoes and confidently step onto a clean, sanitary shower floor.
Keeping your plastic shower floor clean is not only essential for maintaining a visually appealing bathroom but also for ensuring a healthy and safe environment.
By using eco-friendly cleaning methods, such as vinegar and water solution, you can also minimize your environmental impact.
So, why not start today and make a commitment to maintaining a clean and inviting shower floor for years to come?


