A stunning stone tile shower can elevate your bathroom to a luxurious spa-like retreat.
But to keep it looking its best, you need to know how to clean and maintain it properly. 😃✨ Regular cleaning prevents soap scum, grime, and even mold from dulling the beauty of your stone tiles.
In this comprehensive guide, I’ll reveal the best practices to clean and maintain your stone tile shower, ensuring it remains a showstopper in your bathroom. 🧹🧼 Say goodbye to unsightly stains and hello to sparkling tiles! 🌟👌
Assessing the Stone Tile Shower
Knowing the type of stone will help you choose the correct cleaning products and techniques.
Tip: Perform a Small Test
Before applying any cleaning solution, always perform a small test on a hidden or inconspicuous area of your stone tile shower to ensure it won’t damage or discolor the surface.
Gather Essential Cleaning Supplies
Before beginning, gather the necessary supplies for cleaning your stone tile shower. You’ll need:
- A soft-bristle brush or sponge
- A microfiber cloth
- Stone-specific cleaner (avoid acidic or abrasive cleaners)
- A squeegee
- Clean water
The Cleaning Process
Before diving into the cleaning process, it’s crucial to identify the type of stone tile you have in your shower. Common stone tiles include marble, granite, limestone, travertine, and slate.
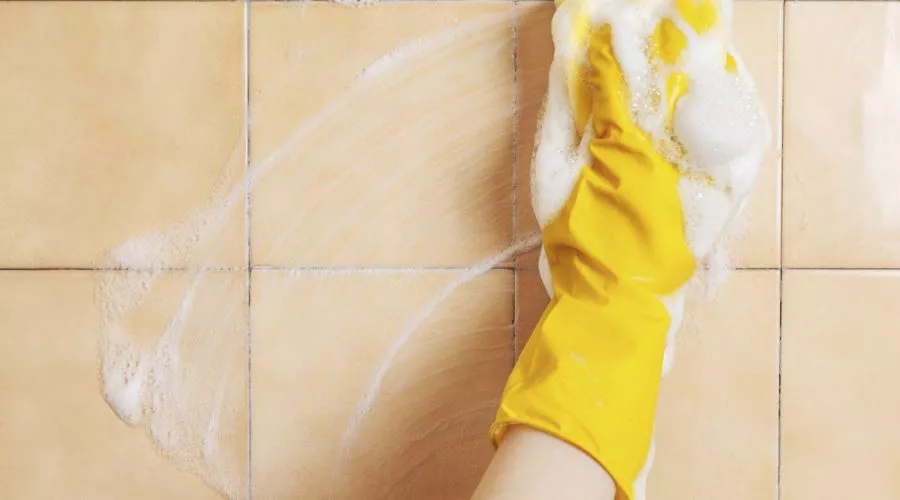
Step 1: Remove Surface Dirt and Grime

Begin by removing any visible dirt, grime, or soap scum with a soft-bristle brush or sponge. Use gentle circular motions to avoid scratching the stone tiles. Be sure to clean the grout lines as well, as they are prone to accumulating dirt and mildew.
Step 2: Apply the Stone-Specific Cleaner

Next, apply the stone-specific cleaner to the entire shower area. Follow the manufacturer’s instructions for dilution, if applicable. Remember to avoid using acidic or abrasive cleaners, as they may damage the stone surface.
Step 3: Scrub the Tiles and Grout
Using your soft-bristle brush or sponge, scrub the stone tiles and grout lines to remove any stubborn dirt, grime, or soap scum. Pay particular attention to the grout lines and any corners or crevices where dirt may accumulate.
Step 4: Rinse Thoroughly

Rinse the entire shower area with clean water, making sure to remove all cleaning solution and debris. A handheld showerhead is especially useful for this step.
Step 5: Squeegee and Dry

After rinsing, use a squeegee to remove excess water from the stone tiles. This will help prevent water spots and mineral deposits from forming. Finally, use a microfiber cloth to dry the shower area completely. Drying the stone tiles after each use can help prevent the buildup of soap scum and mildew.
Maintenance Tips for Your Stone Tile Shower
To keep your stone tile shower looking its best, follow these maintenance tips:
- Seal your stone tiles and grout. Sealing the stone tiles and grout lines can help protect them from staining and make them easier to clean. Consult a professional for the appropriate sealant and application instructions.
- Use a daily shower spray. A daily shower spray can help prevent soap scum and mildew buildup. Choose a spray that’s safe for your specific type of stone tile.
- Ventilate the bathroom. Proper ventilation can help reduce humidity levels in the bathroom and prevent the growth of mold and mildew. Open a window or use an exhaust fan during and after showering.
- Avoid harsh cleaning products. As mentioned earlier, avoid using acidic or abrasive cleaning products on your stone tile shower. Stick to stone-specific cleaners or mild, pH-neutral solutions.
Dealing with Mold and Mildew
Mold and mildew can be common problem in stone tile showers. These unsightly and potentially harmful growths can be prevented and removed with proper care.
Preventing Mold and Mildew
- Maintain proper ventilation. As mentioned earlier, proper ventilation can significantly reduce the risk of mold and mildew growth in your shower. Keep a window open or use an exhaust fan during and after showering.
- Dry the shower area after each use. Use a squeegee and microfiber cloth to remove excess water and dry the stone tiles and grout lines after every shower. This will help prevent mold and mildew growth by reducing moisture.
- Seal the grout lines. Sealing the grout lines can help prevent moisture from penetrating the porous material, reducing the risk of mold and mildew growth.
Removing Mold and Mildew
- Use a mildew remover. There are mildew removers available on the market specifically designed for use on stone tile surfaces. Make sure to choose a product that’s safe for your type of stone tile and follow the manufacturer’s instructions for application.
- Scrub gently. With a soft-bristle brush or sponge, gently scrub the affected areas to remove the mold and mildew. Be cautious not to damage the stone tiles or grout lines.
- Rinse and dry. Rinse the shower area thoroughly with clean water to remove the mildew remover and any remaining mold or mildew. Use a squeegee and microfiber cloth to dry the area completely.
Polishing and Buffing Stone Tiles
To maintain the shine and beauty of your stone tile shower, periodic polishing and buffing may be necessary. This process can help restore the natural luster of the stone and remove any minor scratches or scuff marks.
- Choose a stone-specific polishing compound. There are many polishing compounds available for different types of stone tiles. Be sure to select one that’s suitable for your specific stone type.
- Apply the polishing compound. Following the manufacturer’s instructions, apply the polishing compound to the stone tiles. Typically, a small amount of the compound is applied to a soft cloth or sponge and then spread evenly over the surface.
- Buff the stone tiles. Using a soft cloth, microfiber pad, or buffing machine, buff the stone tiles using circular motions. This process will help to work the polishing compound into the surface of the stone, enhancing its shine and removing any minor imperfections.
- Wipe away excess polishing compound. Once the buffing process is complete, use a clean, damp cloth to remove any excess polishing compound from the surface of the stone tiles.
- Dry and inspect the tiles. Finally, use a dry microfiber cloth to thoroughly dry the stone tiles. Inspect the tiles to ensure that they have an even shine and that all minor scratches or scuff marks have been removed.

Jason Roberts
Latest posts by Jason Roberts (see all)
- How to Neutralize Odors in Carpet – Effective Techniques 2024 - May 29, 2024
- Bagged vs Bagless Vacuum Cleaner: Experts Review 2024 - May 28, 2024
- Newly Vacuum Cleaner With Laser Dust Detection By Dyson V12 Detect Slim - May 25, 2024